Get Back on Track: Dealing with a Flat Tire on the Road

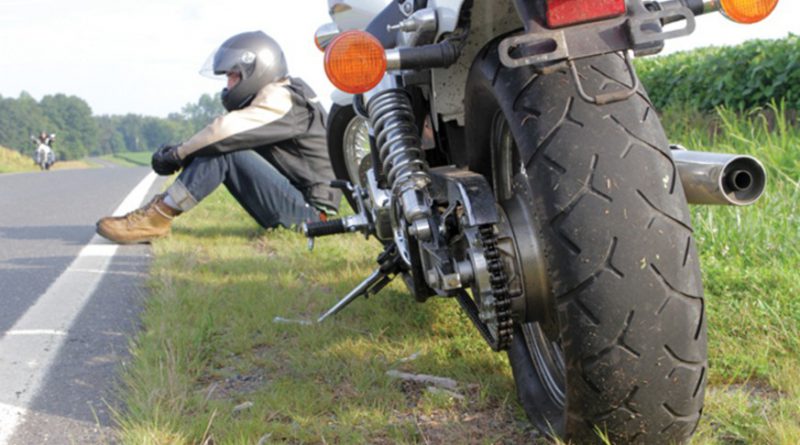
So, picture this: you’re cruising down a winding road, wind in your hair, tunes blasting, and suddenly—BAM! Your bike gets a flat tire. Ain’t that a bummer? But hey, don’t sweat it! Dealing with a roadside flat isn’t the end of the world. It’s just a little hiccup in your two-wheeled adventure.
Spotting the Problem: Pull Over and Stay Calm
First things first, when you notice that telltale wobble or hear that dreadful hissing sound, pull over to a safe spot. No need to panic; take a deep breath and let’s get down to fixing that pesky flat.
Tool Time: Gather Your Essentials
Alright, before you start flexing your muscles, grab your bike tools kit. If you’re prepared (high-five if you are), you should have a few essentials on hand: a spare tube, tire levers, a pump, and maybe a patch kit if you’re feeling extra prepared.
Removing the Wheel: Easy Does It
Step one, let’s get that wheel off. Most bikes have a quick-release lever or nuts holding the wheel in place. Loosen them up and gently ease the wheel out of its spot. If it’s the back wheel, shift the chain to the smallest cog to make wheel removal easier.
Tire Troubles: Using Tire Levers Like a Pro
Now, grab those tire levers. They’re like little magic wands for bike repair. Slide them between the tire and the rim, and pry the tire bead over the edge of the rim. Work your way around until one side of the tire is completely off the rim.
Tube Tango: Swapping Out the Flat
Next up, time to dig out the inner tube. Carefully pull it out from inside the tire. If you’re in luck, you might spot the culprit—a nail, glass, or some sharp thing that decided to play tire popper. Patch kits are superheroes here; if you’ve got one, use it to patch that tiny hole. If not, just swap the tube with your spare.
Putting It All Together: Reassembling the Wheel
Before putting the fresh tube in, give the inside of the tire a quick once-over. You don’t want to pop that brand-new tube because of a tiny shard you missed. Safety first! Now comes the slightly tricky part: getting the tire back onto the rim. Start by tucking the tube into the tire and then slowly work the tire bead back onto the rim using your hands. If you hit a snag, those trusty tire levers can help.
Back on the Road: Mounting the Wheel and Inflating
Phew! Almost there. Pop the wheel back into its spot on your bike, tighten up the nuts or lock the quick-release lever, and give it a spin to make sure it’s all seated properly. But wait, we’re not done yet. Pump it up! Use your pump to inflate the tire to the recommended pressure. This little tidbit is usually written on the side of the tire. Not too soft, not too hard—just right!
Safety Check: Ready to Roll
Now, give your bike a quick once-over. Check if everything is snug and secure before you hop back on the saddle. Safety check, done!
Final Tips: Practice Makes Perfect
Remember, having a flat tire isn’t the end of the world. It’s a chance to flex your DIY muscles and get back on the road in no time. Plus, it’s a good story to share at the next pit stop. Oh, and a little pro tip? Practice at home before hitting the road. Familiarizing yourself with fixing a flat in the comfort of your garage or living room makes all the difference when you’re stuck on the side of the road.
Conclusion: Ride On!
So, next time fate decides to deflate your ride, don’t sweat it. With a little know-how and the right tools, you’ll be back on that road, wind in your hair, before you know it. Happy riding!

